ohhhhhh, i've caught the fall bug big time folks! i've fallen head first into those wonderful tones of orange, purple, pink and green and who better to feed my fabric cravings for these yummy tones than amy butler! i used disco flower in tangerine from our sponsor stitchsimple.com for this dress. love! today's tutorial is part of the fabulous "celebrate color"! it's been so much fun being a part of this wonderful event & helping to organize it and i hope you've all been getting your entries in for this month as there are some awesome prizes to be won!

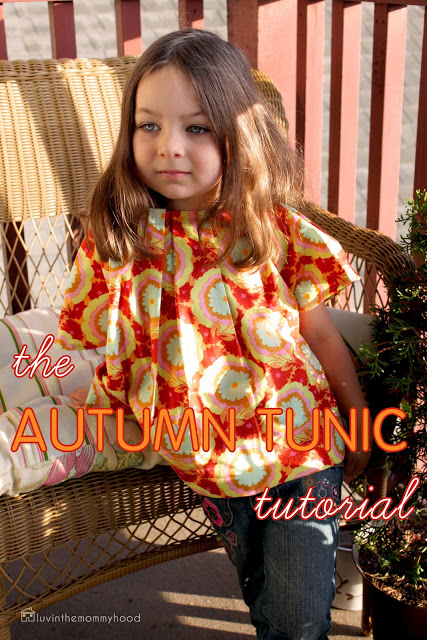
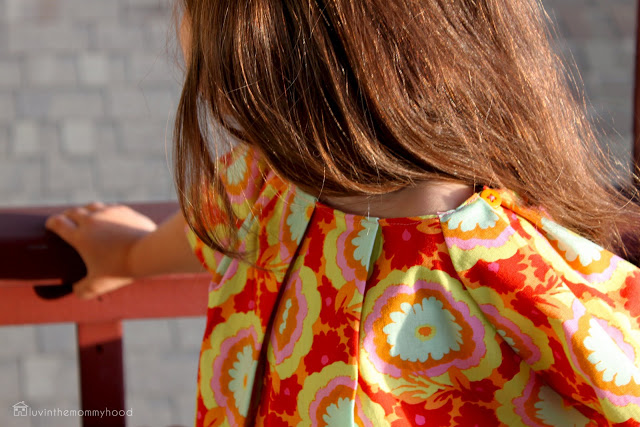
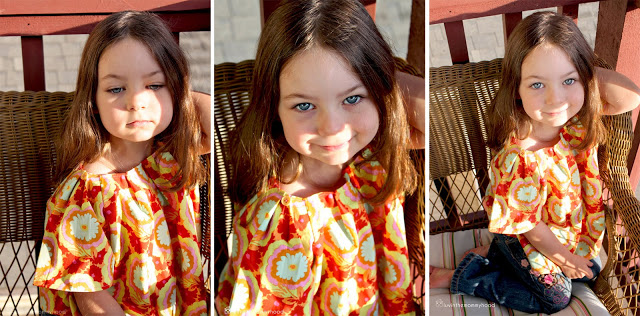
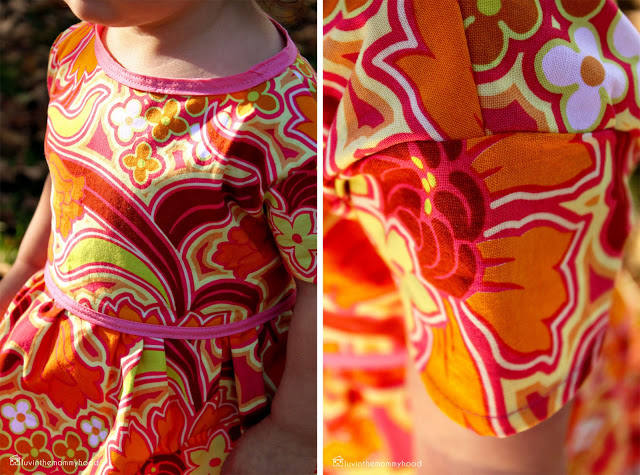
for my tutorial for october i couldn't resist continuing along with the same retro flair as my september's tute - the autumn tunic. i wanted something simple, classic yet modern and fun. i'm totally crushing on the full skirt, double stitched bias tape trim and belt and the sleeves....love the sleeves. harper just melts my heart in this little frock.

and guess what? you can make one too! i kept it nice and easy for you all. a great base for you to start with if you are just learning to sew and one for more advanced sewers to add their own personal flair. there's no zippers, buttons or tricky detail work. it's simple, fast to make and oh so fun to see your wee one wear!

i mean how cute is this for fall???

it was so hard to resist jumping in the leaves and rolling around with her. i can just feel the cozy fall sunshine radiating off that dress. want to make one of your own? let's get ready!
***Copyright 2011 www.luvinthemommyhood.com
All rights reserved. For personal use only. Please do not sell items made from this tutorial unless permission has been given.
Materials:
- 1 yard fabric (I used quilting cotton) pre-washed and dried. trust me. you want to do this :)
- co-ordinating thread
- 1 package co-ordinating double fold bias tape or handmade bias tape in the distance to suit the size of your dress.
- sewing machine
- pinking shears (*optional)
- iron
- fabric marker
Pattern pieces:
You can print out the following pattern pieces by simply clicking on the link below. Make sure when printing the image is at 100% with no shrinking or resizing.
Bodice Back
Bodice Front
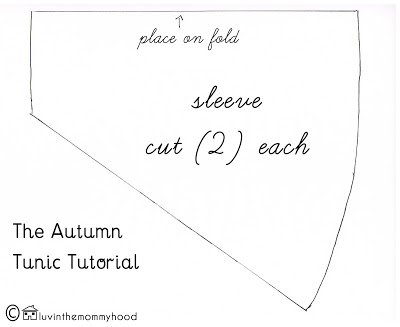
Sleeve
Instructions:
*All seams have a 1/2" seam allowance unless otherwise stated.
1. Print out the pattern pieces above on standard size paper with no shrinking or resizing. Cut them out. Place on your fabric taking care that if you have a print that they are all going in the correct direction and that you are cutting with your fabric give going from left to right (you can check this by pulling the fabric to see which direction gives the most ease or stretch) and cut. Set aside.
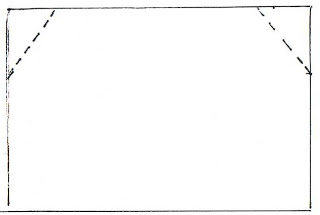
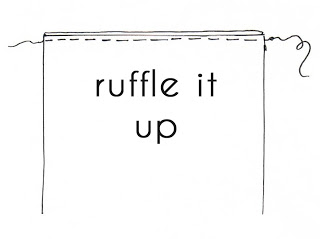
2. Cut out two pieces of fabric 12"L by 25"W for the skirt. Place skirt pieces right sides facing together and pin sides. Sew together your side seams with a 1/2" seam allowance. Press. Finish seam with a zig zag stitch or clip with pinking shears.

4. Grab your bodice pieces. Place fabrics right sides facing together and pin. Sew together your sides seams with a 1/2" seam allowance. Press. Finish seam with a zig zag stitch or clip with pinking shears.
5. Pin straps of bodice together with right sides still facing each other. This is a good time to try the dress on your little one to make sure the sizing is going to work with your toddler. If any adjustments need to be made to the bodice width now is the time to do it. If all is good your next step is to sew both straps with a 1/2" seam allowance or size to fit your child's body. Press. Finish seam with a zig zag stitch or clip with pinking shears.
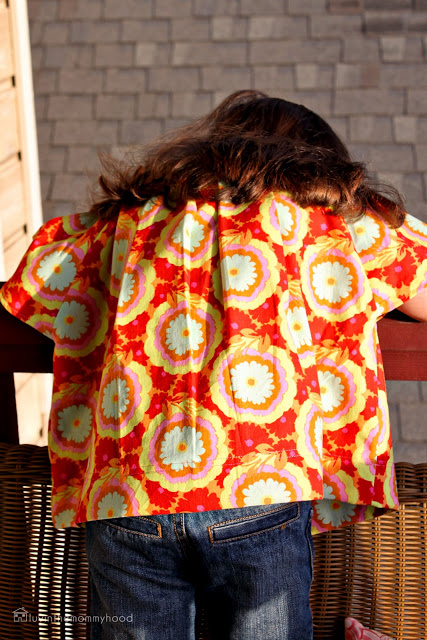
6. Fold your bodice in half marking the center point of the bodice back with a fabric pen or pin. Measure down 3 inches and make another mark. Cut a straight line from one mark to another. This will later form your "v" neck back opening.

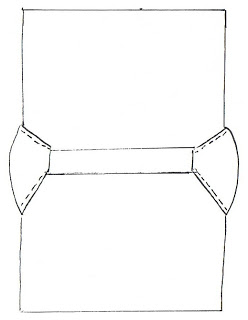
7. Fold sleeve pieces in half making a finger press fold and mark where your center is with a fabric pen or pin. With bodice wrong side out (wrong side showing, right side inside) and sleeve right side out (right side facing and wrong side inside) place sleeve inside the opening for the sleeve matching center point of sleeve to center top of sleeve opening. Bottom points of sleeve should be overlapping for a clean finish. Sew with a 1/2" seam allowance. Press and finish seam with a zig zag stitch or clip with pinking shears. Do this for both sleeves.
8. Time to put that skirt with the bodice! Take your ruffled skirt - wrong side out, and your bodice - right side out and place bodice inside the skirt matching the bottom of bodice to top of skirt. Pin down making sure the ruffling of your skirt matches up evenly around the bodice. You don't want some areas more ruffly than others. Sew the skirt to the bodice with a 1/2" seam allowance. Press and finish seam with a zig zag stitch or clip with pinking shears.

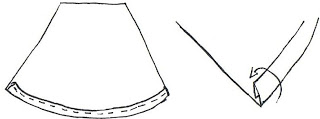
9. Hem your dress to your preferred length. I folded mine 1/4", pressed, then folded 1/2" and pressed. I stitched down close to the inner side of the folded edge then pressed again. I then topstitched close to my hem line for a double stitch finish to match the bias tape finish you will be doing soon. Add a label if you are using one and voila!

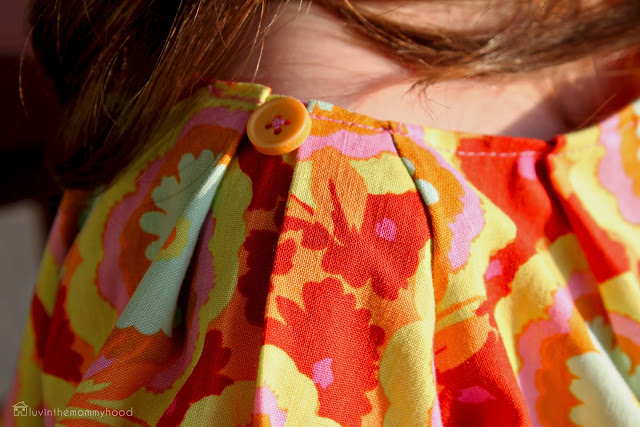
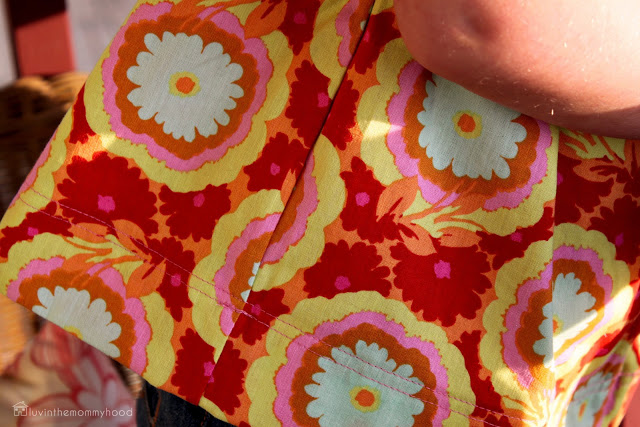
10. Next we are going to finish off the neck. We're almost done! Taking your bias tape, starting at the top of one shoulder, pin down along the entire neck and back opening taking care to fold properly at tops of back opening and bottom of "v" opening in back. (It would take me a whole post to explain the sewing of bias tape so I'll just direct you over to Dana from Made's handy post here for making your own and here for sewing it). Next sew down your bias tape close to the edge taking care to catch the underside of your bias tape. When stitching the "V" opening I sort of folded the bias in on itself to form a v point at the bottom and stitched it down (see picture above). Press. Stitch along the entire neckline again but this time close to the opposite edge. Purdy!
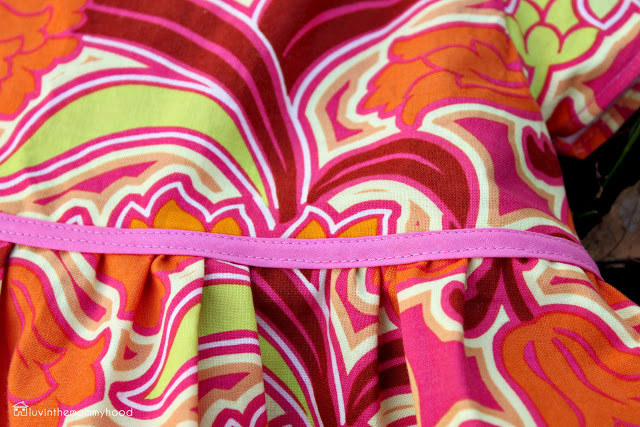
11. It's time to add the tie! Cut bias tape the length you would like making sure to be able to tie a bow in the back. Mine was 64" long. Fold bias tape in half and mark center point. Pin center of bias tape to corresponding center of dress. Pin bias tape down with the joining seam of the bodice/skirt in the center of your bias tape. Pin from left side seam straight over to right side seam. Stitch close to left edge from this side to the other. Backstitch. Start again on the bottom right seam and sew over to the bottom of the left seam. Backstitch again. Another pretty finish! Now the next step is up to you. You could continue the same two stitch lines along the entire bias tape ends that will be tied in a bow but I got lazy and didn't cause I actually prefer to not sew bias tape. We have a love/hate relationship so I left mine unfinished....for now :)

12. Press your dress and stand back and admire your hard work! Great job!!! Now go take a fab photo of your new frock and post it in our flickr group so we can admire your sewing skills! And don't forget to leave me a comment too so I can see how it turned out! Also, feel free to email if you have any questions or problems - luvinthemommyhood@yahoo.ca
***Copyright 2011 www.luvinthemommyhood.com
All rights reserved. For personal use only. Please do not sell items made from this tutorial unless permission has been given.

i hope you have lots of fun with this dress! delaney was one of the names i had loved for harper that didn't make it past the hubby test so i had been saving it to use :) i can't wait to see the fabric combos, buttons, custom bias tape and all sorts of trim goodies you guys come up with to rock the delaney dress out with! go have fun and don't forget to celebrate color in style!!!