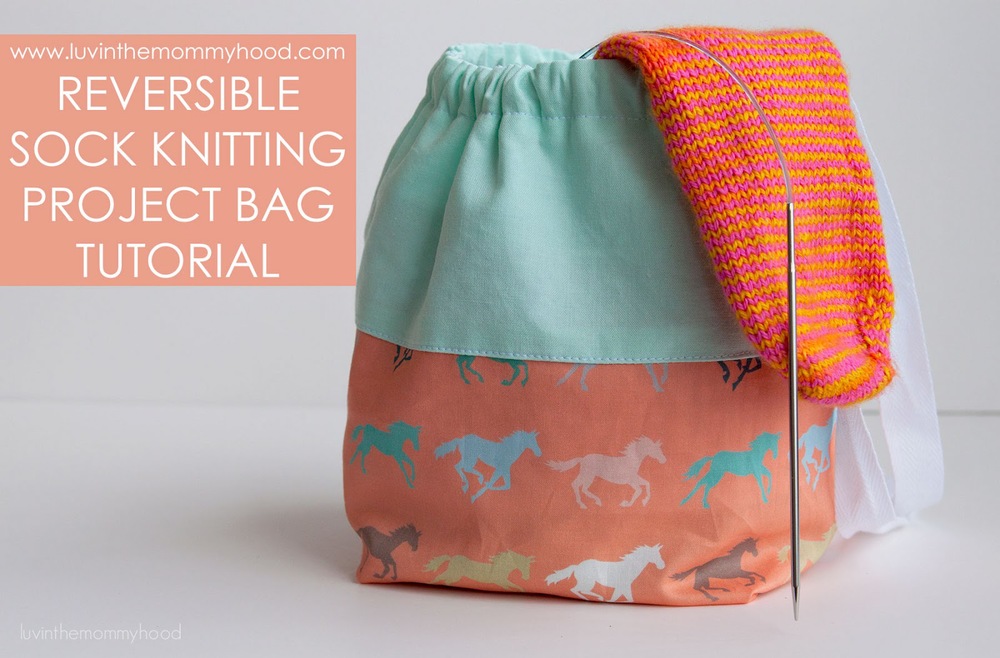
i love project bags. i love them almost as much as i love the stuff i'm knitting and sewing in them. i have tried making a few different versions of project bags now for my many wip's but i keep coming back over and over to this one style of bag. it's my fave! so after lots of requests since i sold some of these last summer at a fiber festival i finally got around to doing the tutorial for this reversible sock knitting project bag! yep - that's right, it's reversible!! weee!!!! more chances to use fun fabric! love it! and there is no hand sewing! love that even more!!! it's easy, fast, fun and a great gift project to make. you could easily whip a few of these up in one evening.
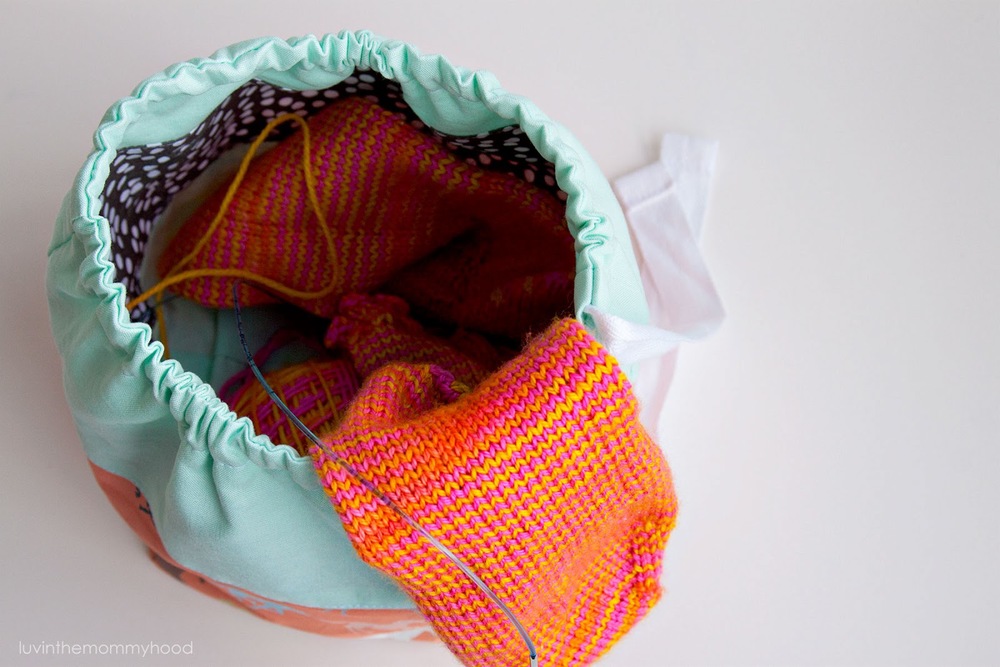
isn't it cute! i kinda want to hug them they are so cute. i think i have about 4 of them now in different fabrics. you can surprisingly fit quite a lot into this small size too. i have my sweater project in one at the moment and it's still fitting. but if you would like a larger size (equally as cute, i have made those too) or even a jumbo (heck you could go smaller too), i give you instructions on how to do that below as well.
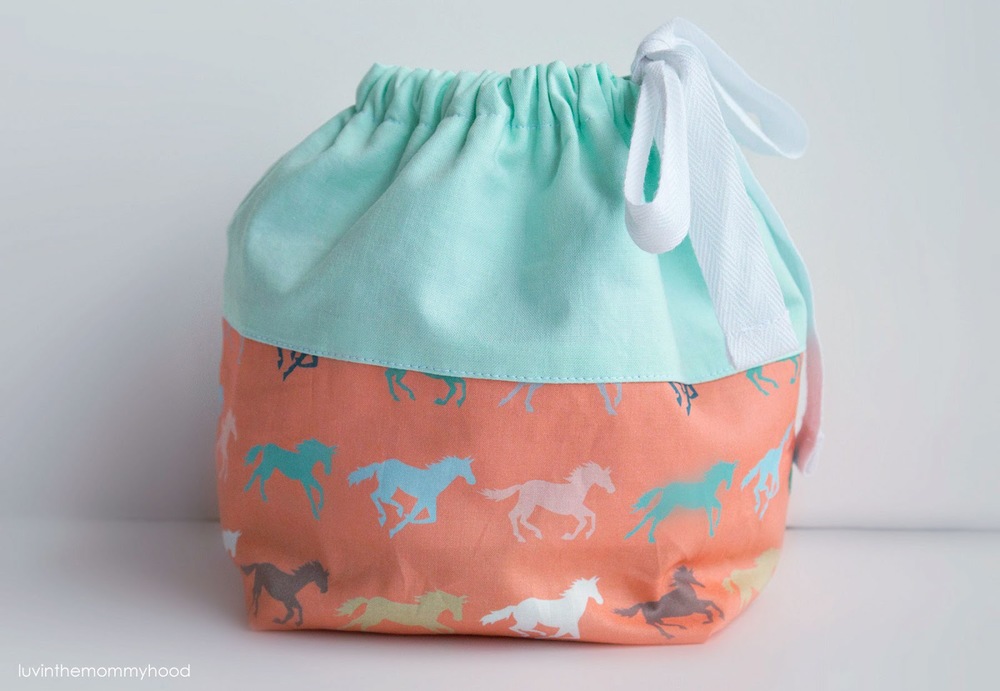
these little bags stand up great too. the square bottom is awesome for that. just remember if you are using a lightweight fabric to use interfacing on it to keep the stability of the bag or you'll get one that is a bit more floppy. now go recycle those ugly plastic bags, save your cloth tote for something else and give your knitting project a sassy new bag in your newest fabric crush of the moment! i promise it will bring a smile to your face and your knitty pals will all want one too <3


are you ready to get sewing? this is a great beginner project but it's also a good base for an advanced sewer to go wild with piecing and sizing to create a custom bag suited to their tastes.
>>REVERSIBLE SOCK KNITTING BAG TUTORIAL<<
Copyright 2013 www.luvinthemommyhood.com All rights reserved. This tutorial is for personal use only unless prior permission has been given. If you are interested in handmaking & selling this item on a small scale basis please email me at luvinthemommyhood@yahoo.ca for inquiries.
|| FINISHED MEASUREMENTS ||
Bottom is approximately 5.5"W and height is approximately 7.5"H.
Want a different size? You can easily adjust the sizes of this bag. Simply choose a different overall square size for the bag (for ex. 16" x 16") and then to calculate the size of the small square corners you cut out you need to find 1/4 of the width of the fabric to be able to create a square bottom for your bag.
You can also customize the size of the upper & lower pieces as well if you are piecing your fabrics. Just remember that no matter what you piece together your overall height (after piecing/sewing your fabrics together) is 12" and your width is 12". You could easily do a patchwork one, add more strips, or do vertical strips instead. It's totally up to you! Just have fun with it!
|| MATERIALS ||
To make a knitting bag all in one print you will need:
- 4 pieces of fabric 12"W x 12"H (2 for your outer and 2 for your lining).
If you would like to make your bag with 2 fabric selections for your outer and lining like the one shown in this tutorial you will need the following:
- 4 pieces @ 12"W x 7.25"H (this will be the lower section of your bag)
- 4 pieces @ 12"W x 5.25"H (this will be the upper section of your bag)
You will also need:
- 2 pieces @ 12"W x 12"H of light-medium weight fusible interfacing. I used PELLON 931TD fusible midweight white interfacing. If you are using a mid-heavy weight fabric you may make it without it.
- ruler
- scissors and/or rotary cutter and mat
- coordinating thread
- removable fabric marker
- 1 yard ribbon, fabric or cording cut to desired length
|| INSTRUCTIONS ||
STEP ONE: PREPPING YOUR PIECES
Seam allowance is 1/4" unless otherwise noted.
*Note: I am going to show you instructions on how to assemble a sock knitting bag that is pieced using 2 different fabric selections. If you would like to just use one fabric choice for your outer and lining please skip ahead to after the first paragraph.


Place 1 of your outer lower pieces right side facing 1 of your outer upper pieces and pin along your long edge. Sew with a 1/4" seam allowance. Press towards the darker of your colors. Topstitch along the RS of your fabric along your seam. This makes a nice neat finish. Repeat this step for the other 2 pieces of your outer bag and then repeat for all the pieces of your lining as well. You should now have 4 - 12" x 12" squares ready to be sewn.
Iron on your interfacing to the 2 pieces of your lining bag.

Next you will mark and cut out a 3" square from the bottom 2 corners of all 4 pieces of your fabric. Make sure these are nice and accurate. Feel free to cut out a 3" paper square if you'd like a template.
STEP TWO: ASSEMBLING YOUR BAG

With your 2 outer pieces right sides facing sew along your bottom seam (this is the fabric between your 2 square cut outs). Note: If you have pieced your fabrics together take care here to match up your seams for a nice finish. I like to pin from there first and then up and down. I find I would rather trim a bit from the top or bottom than have a messy seam lineup.

Next sew along the 2 side seams. Repeat this step for the other 2 pieces that will be your lining bag.
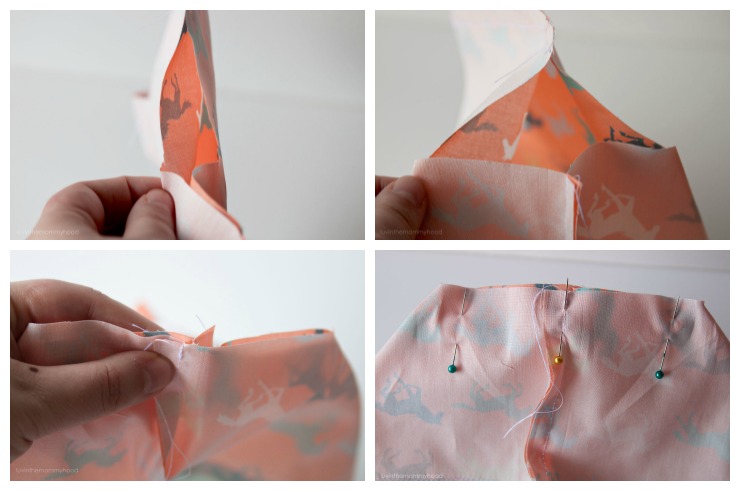
Press all your seams open. Now we are going to make those fun corners that allow the bag to stand nicely. You will still have the 3" squares you cut out unsewn. With your outer bag in your hand hold the corner bottom in your hand and pull apart the square so that the inner top corner of that little square is now lined up with same corner of the other piece of fabric. See photo above. This should create 1 seam you can sew along with a 1/4" seam allowance. Sew along that seam. Press. Repeat this step for the other corner of your outer bag and for both corners of your lining bag. Your bag should now look like the image below.
STEP THREE: MAKING THE CASING
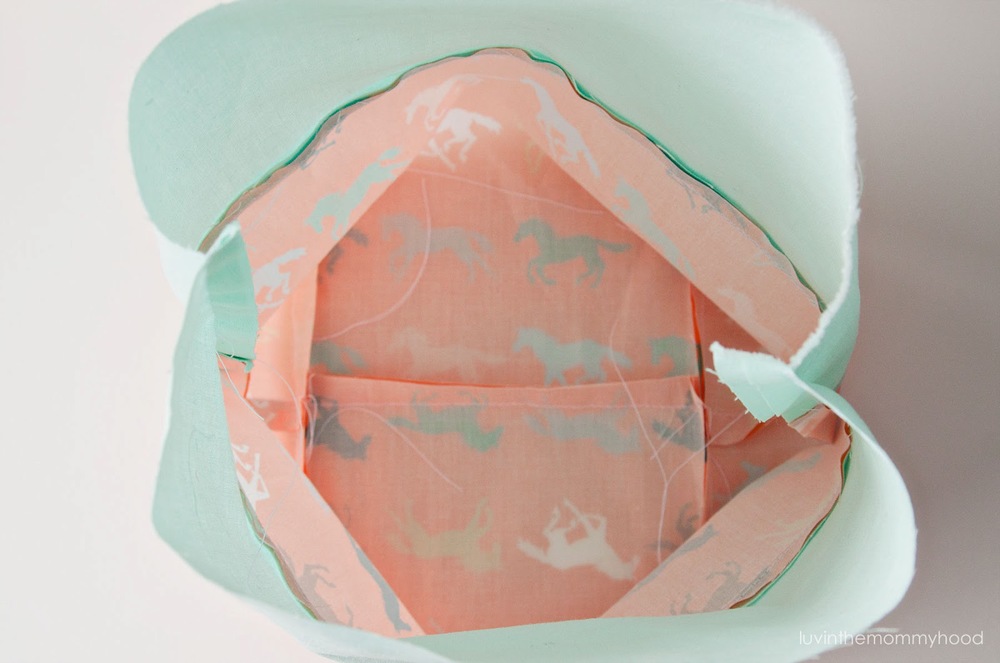
Turn your outer bag inside out. Keep your lining bag right side facing out. Now place your lining bag inside your outer bag so the right sides are facing each other. See image below.
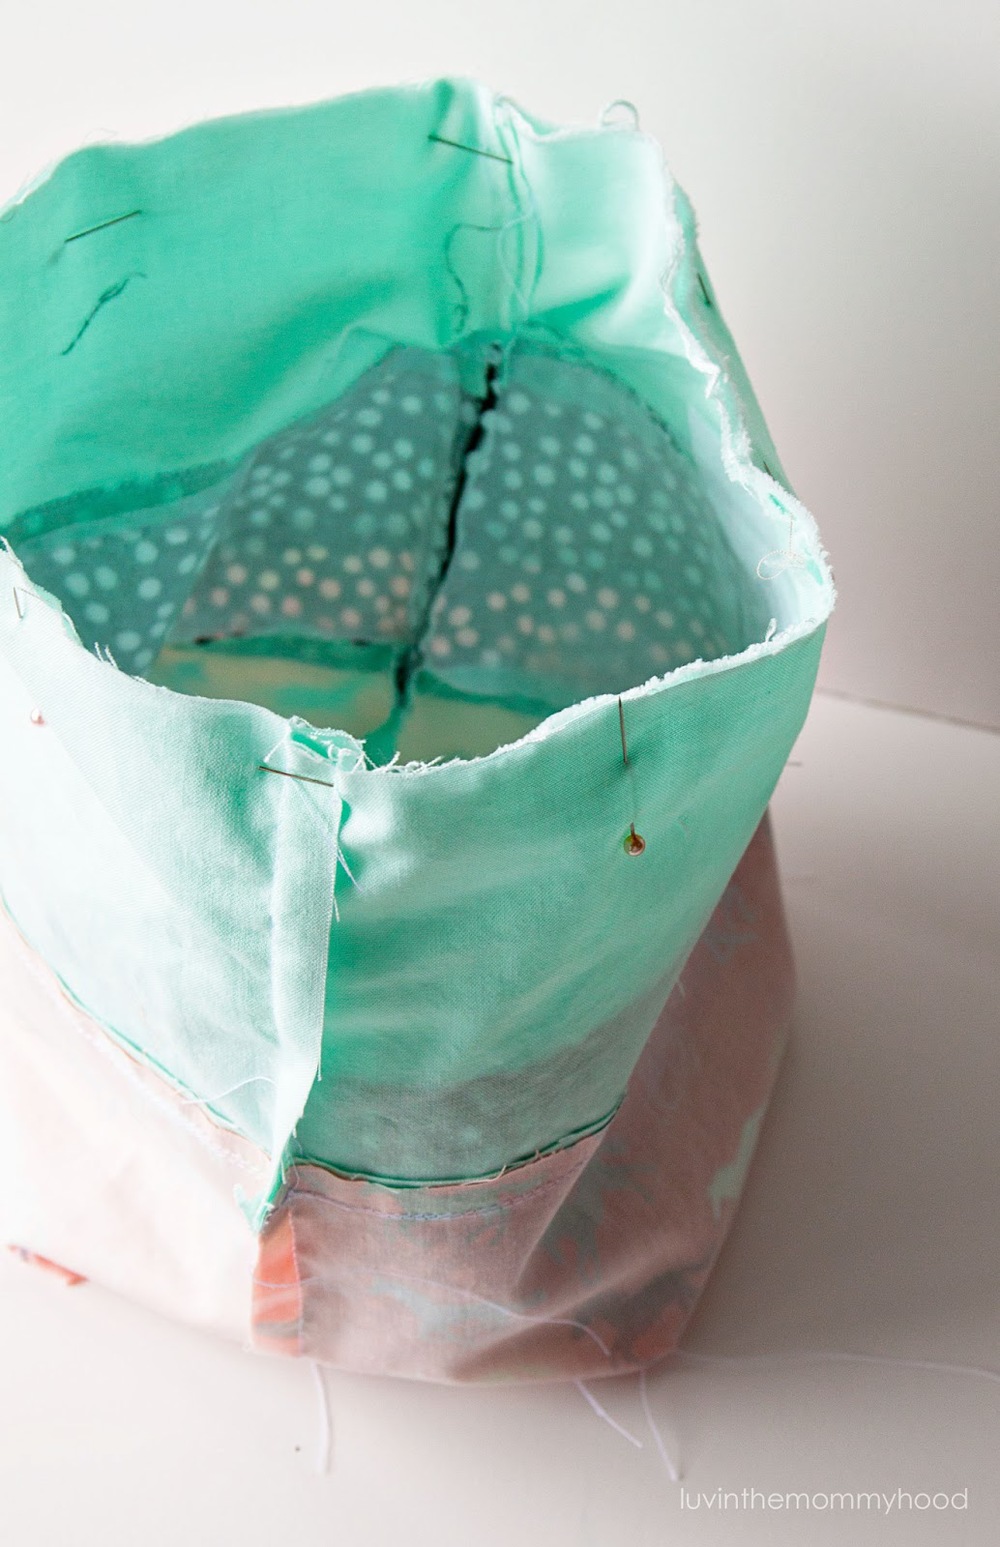
We are now going to create the channel for the drawstring and also close up the bag. Mark 1" down from the top edge of your bag. Sew a line 1" down from this edge around the whole upper circumference of the bags leaving a 2.5-3" opening to pull your bag through. This will also be the opening for your drawstring to pull through.
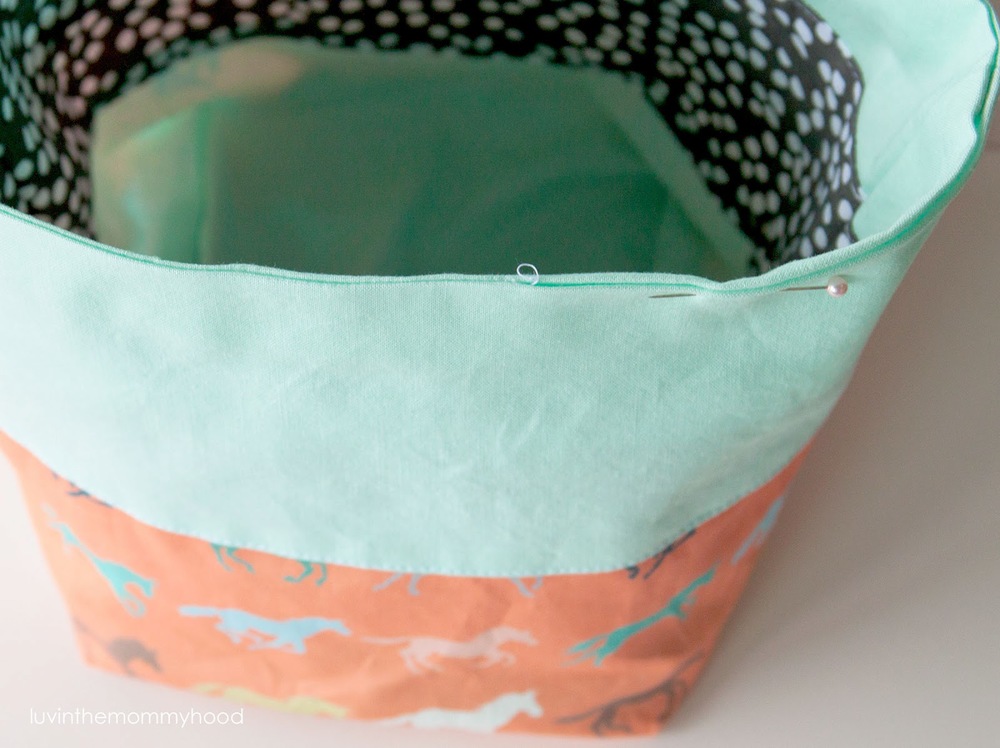
Pull your bags right side out and nicely tuck the lining bag inside the outer bag. See image above. Press all along the upper edge of your bag so it's nice and flat. Pin your opening closed. Sew along the top edge circumference all around the bag this time with a 3/4" seam allowance. This will finish your drawstring channel and close up the bottom of your opening. You now have a nifty pretty opening to pull your cord through without any hand sewing! Yay!!!! I love this kind of top finish. It's easy, fast and looks great.
STEP FOUR: ADDING YOUR DRAWSTRING

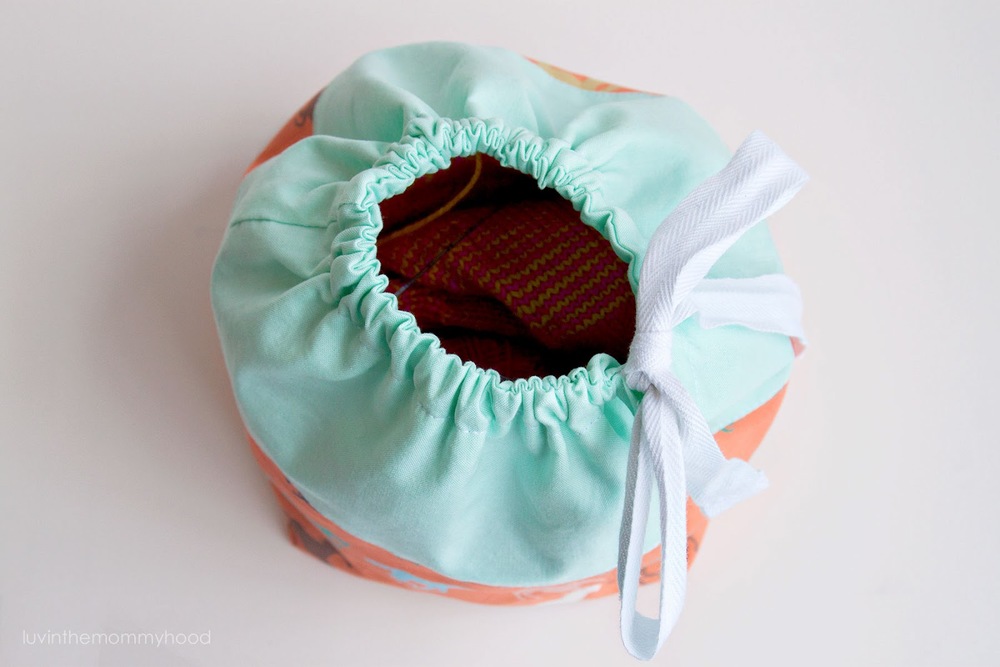
Attach a safety pin to the end of your drawstring. I like to use a soft off white tie cording (not sure if this is the correct terminology for this) most commonly used on pajama pants. If you do use this kind of tie you need to finish your ends. I simply fold over a 1/2" of the end and then fold again. I then sew down along the folded edge.
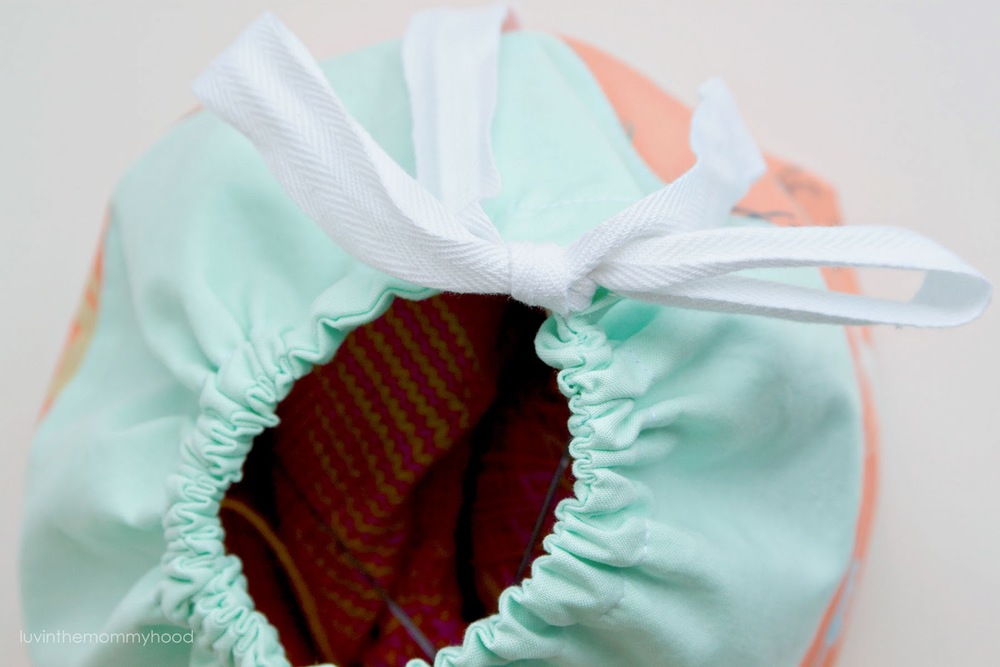
Now that you have your tie ready feed the safety pin end through the channel to the other side. Open the bag up fully and make sure you have at least a 5-6" minimum on each end to be able to tighten the bag and tie a nice big bow :) And that's it! You're done! Now go get your sock knitting on m'dears! Enjoy!
Copyright 2013 www.luvinthemommyhood.com All rights reserved. This tutorial is for personal use only unless prior permission has been given. If you are interested in handmaking & selling this item on a small scale basis please email me at luvinthemommyhood@yahoo.ca for inquiries.

As always please share your finished project pics! We LOVE to see your handiwork! Add your pics to the comments below and/or add them to our flickr group! Thanks for sewing with me!
>> FABRICS USED <<
- "scattered sand in warm grey" by lotta jansdotter
- a random turqouise solid i can't remember where i got from :P
- "gallop horse fabric" by katherine codega
Do you like knitting socks? Are you always on the lookout for a new project bag? I can never have enough! So far this is my favorite one! It's almost as addicting as knitting the project in it!